📂 Connect a Data Source and Upload a File#
The next step in using DataDistillr is to connect data to your project. This tutorial provides a brief overview of DataDistillr's data connection capabilities. For complete documentation see the section on Connecting Data Sources to DataDistillr
Create an Upload Data Source#
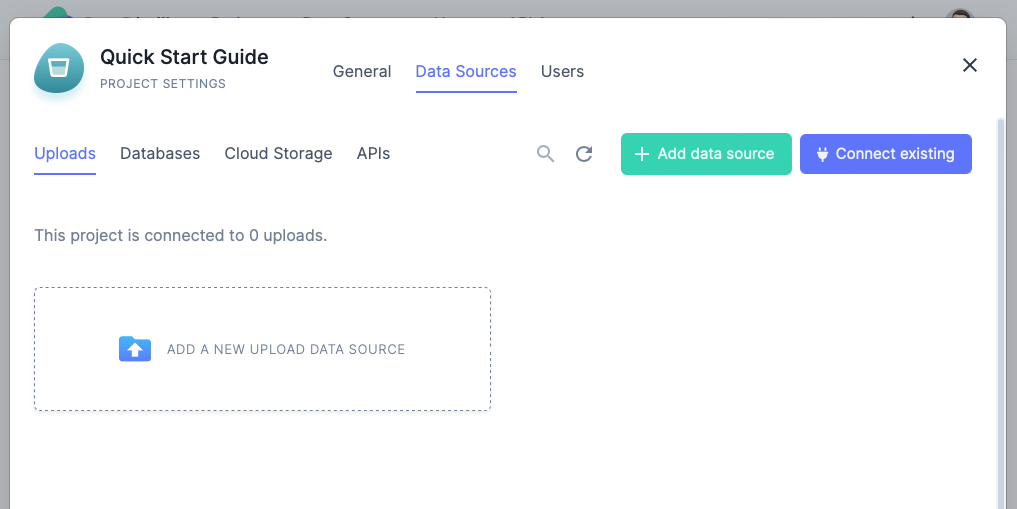
After creating the project you will be taken to the Data Sources screen in your new project. Click on the green Add Data Source button as shown below.
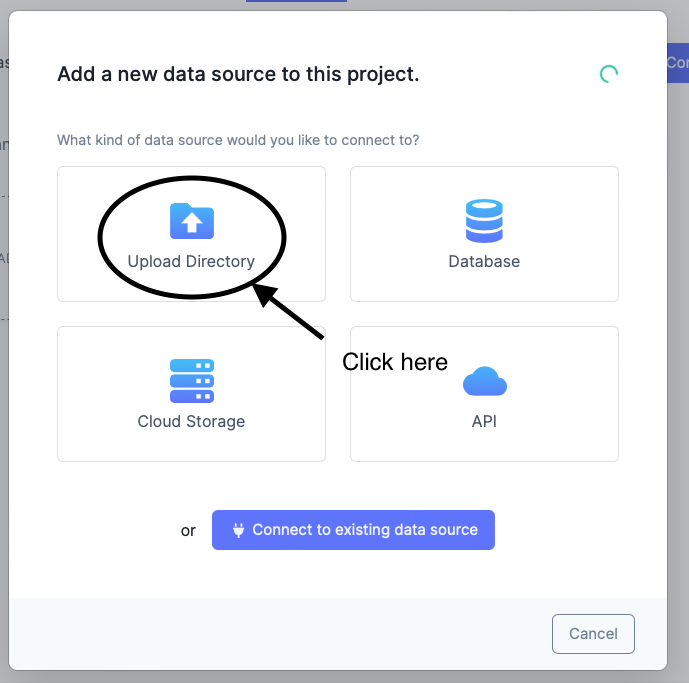
A screen will appear allowing you to pick the type of data source you want to connect your project to. DataDistillr supports a wide range of data sources. For now, click Upload Directory as shown below. For complete documentation see the section on Uploading Directory Data Sources.
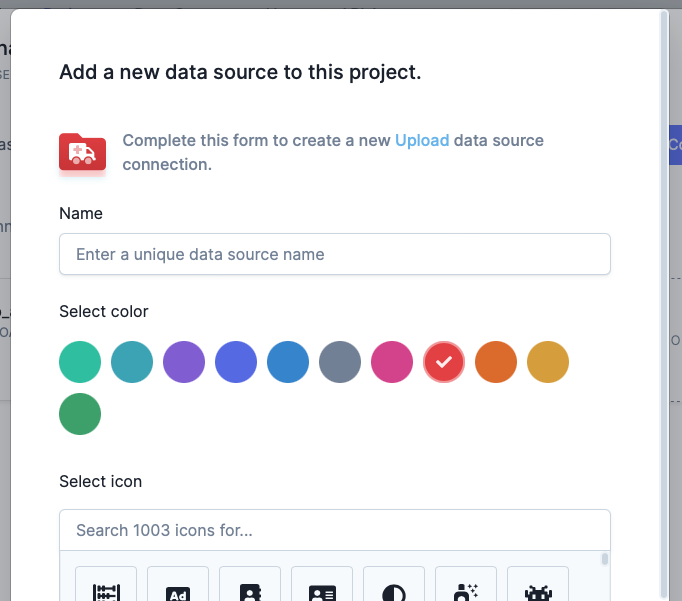
Next, create your file upload data source by completing the form below. Optionally, you can pick an icon and icon color for this data source.
Congratulations! You now have a file upload data source associated with your project.
Upload Data#
Now you are ready to upload data to DataDistillr! In this tutorial we will be using the following files as an example.
Dummy Customers-1.xlsx
Dummy Customers-2.xlsx
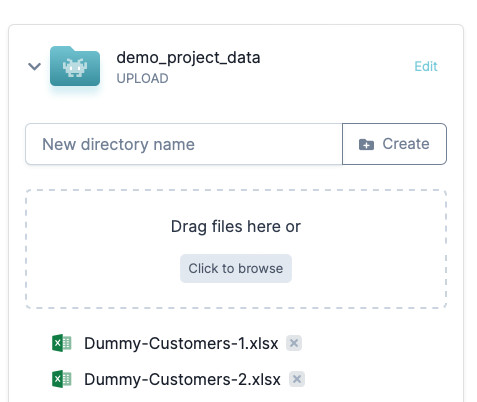
Click next to see an area to upload your files. Drag in your files or Click to Browse and select your local files.
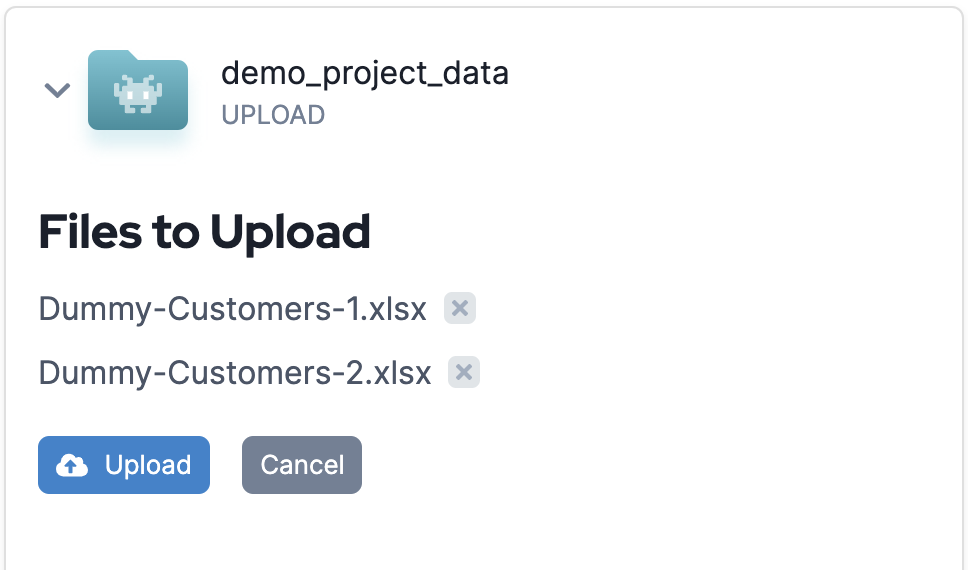
If you added a file by accident, use the X to the right of the file name to remove files you do not wish to Upload. When your files are ready, press Upload and you should see something like the screen below:
Congratulations! Now you are ready to run a data query.