Connecting to Salesforce#
First Steps with Salesforce#
Set up an account with Salesforce.
Cost
Prices vary depending on which Salesforce Product you are working with.
Rate Limits
Your account plan tier will limit the number of API requests per 24-hour period. Current rate limits for each account tier are available in Salesforce's documentation .
How to Connect DataDistillr to Salesforce#
To set up a data source connection for Salesforce, you will need to have:
- A callback URL generated in your DataDistillr account.
- A unique name for your data source connection to be used in queries.
- A consumer key generated in your Salesforce account.
- A consumer secret generated in your Salesforce account.
- A subdomain generated in your Salesforce account.
Data Source Form#
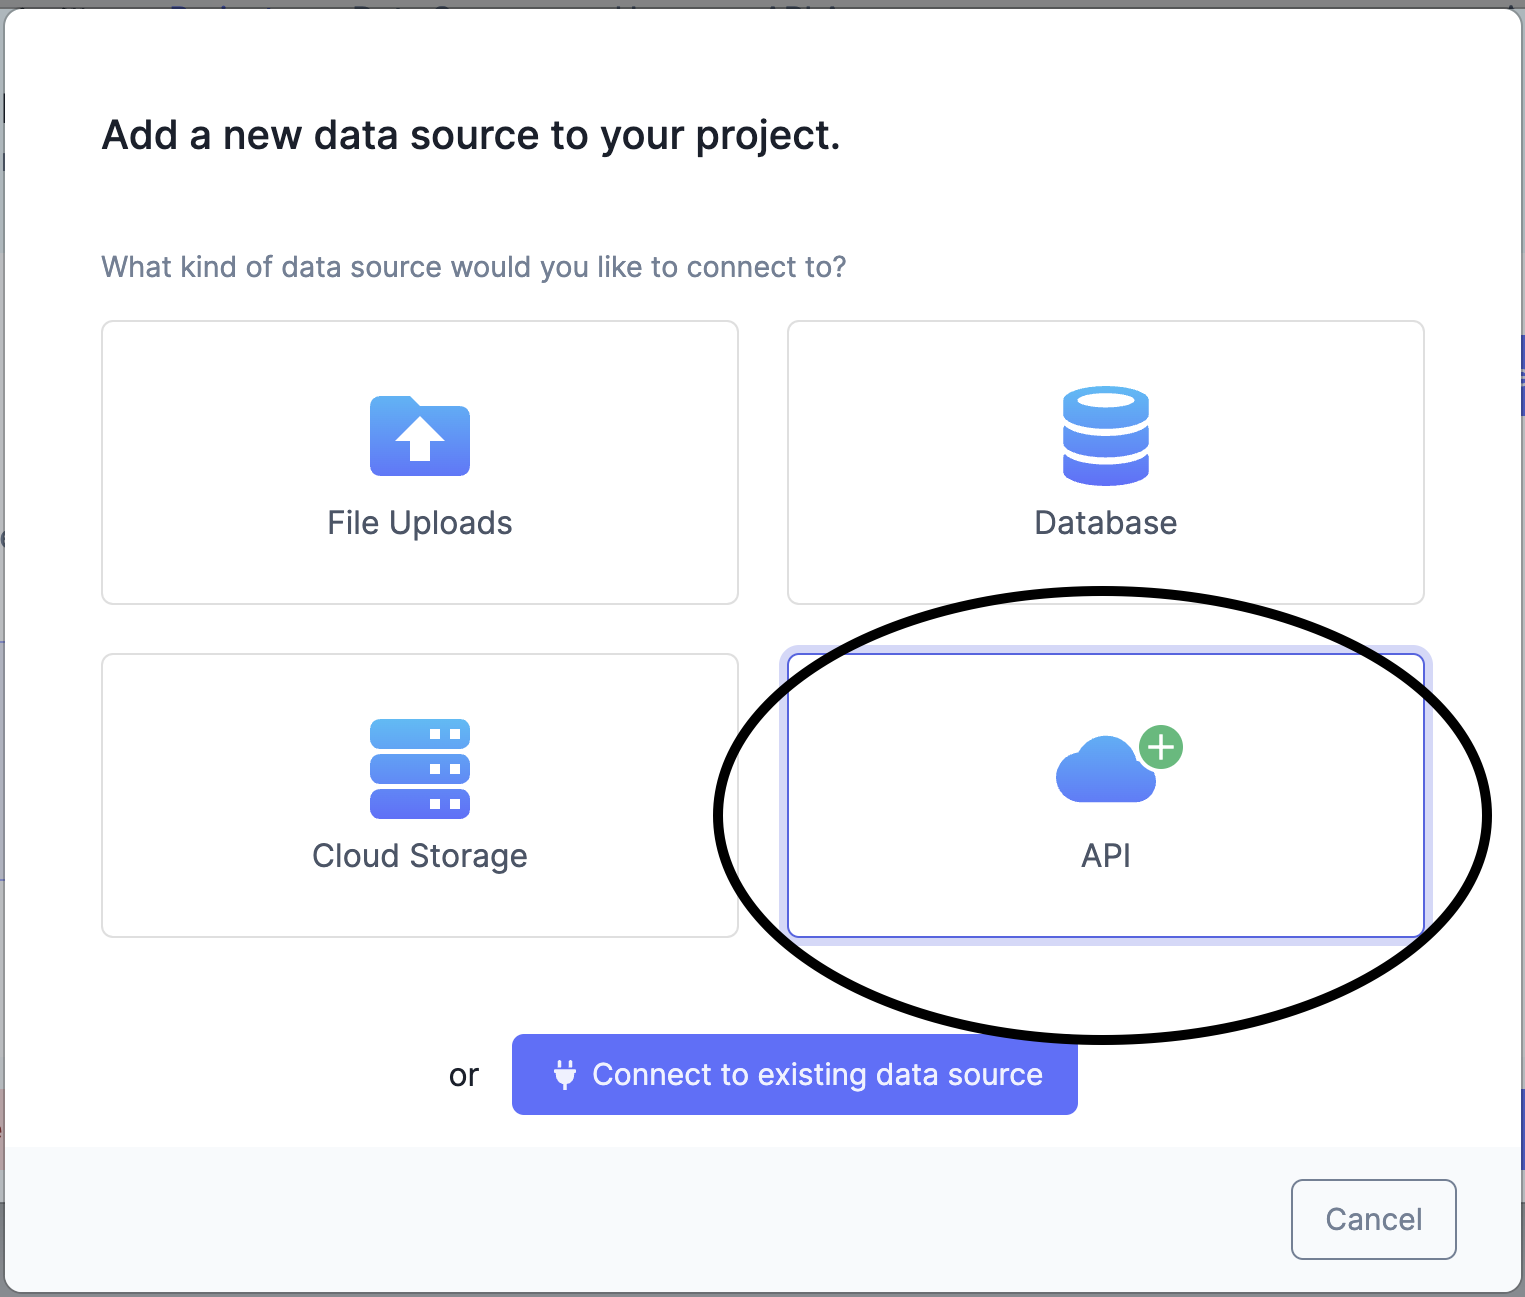
To locate the Salesforce form, follow the steps in Connecting Your Data to DataDistillr. When you get to the window to choose the data source type, select API as shown below.
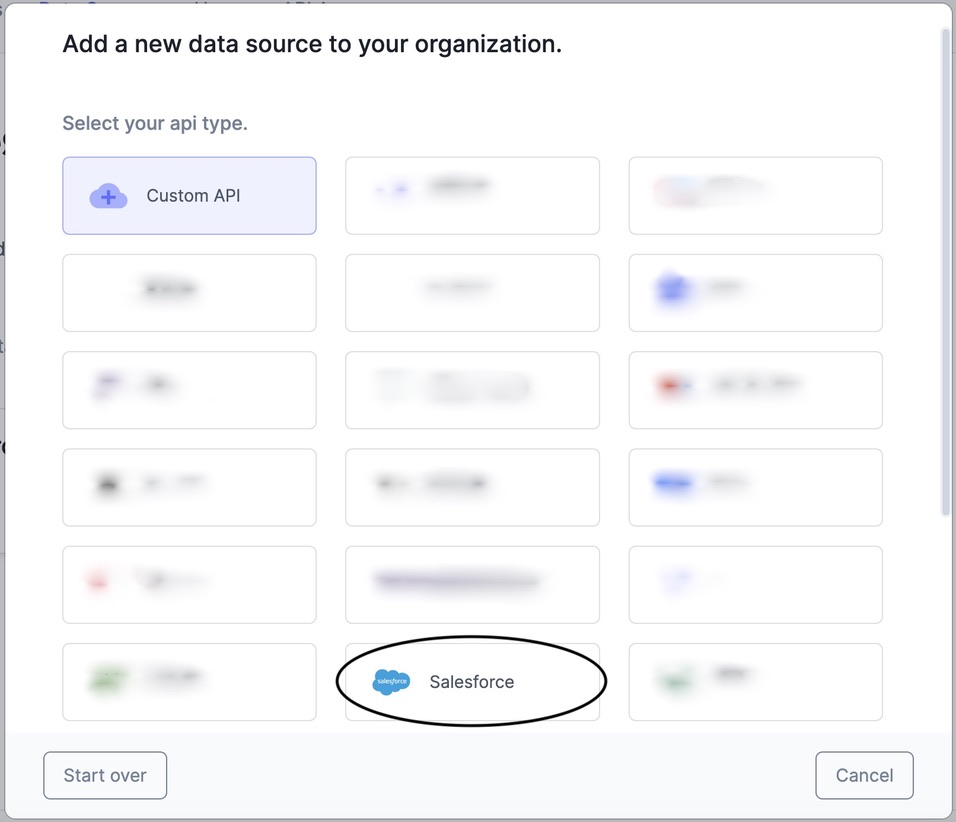
On the API screen, select Salesforce from the list of API types as shown in the image below.
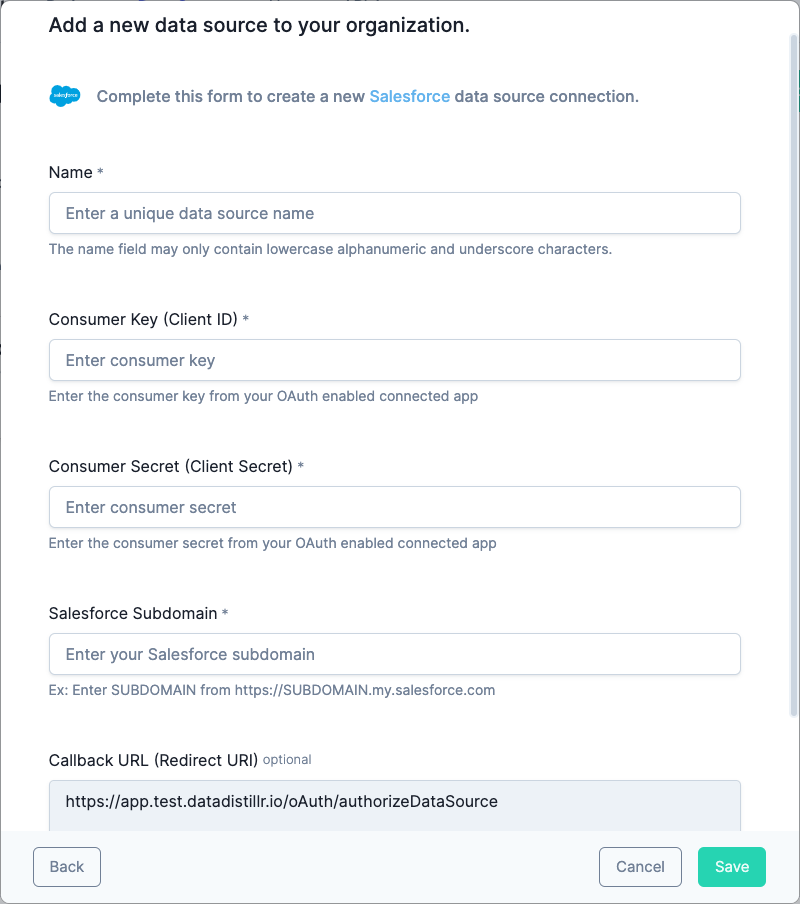
The following form will appear. Instructions are below on how to find the information required to fill each field on the Salesforce API form.
Once you have filled out all the fields, press the green 'Save' button, and your API will be connected!
Salesforce set-up#
Before you can connect your Salesforce data to DataDistillr, you need to do some set-up in your Salesforce profile.
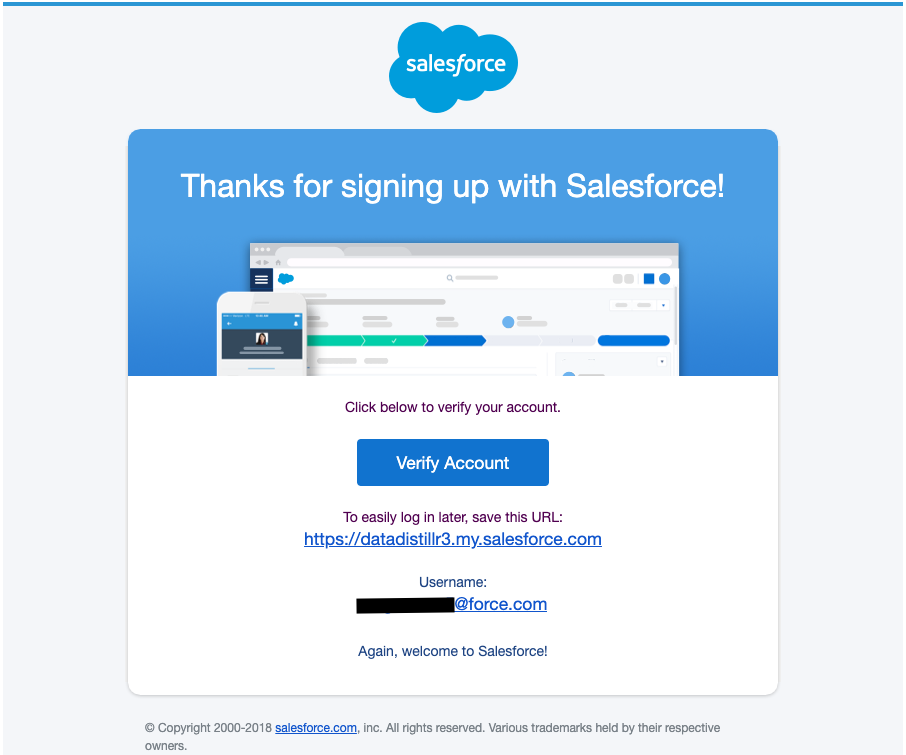
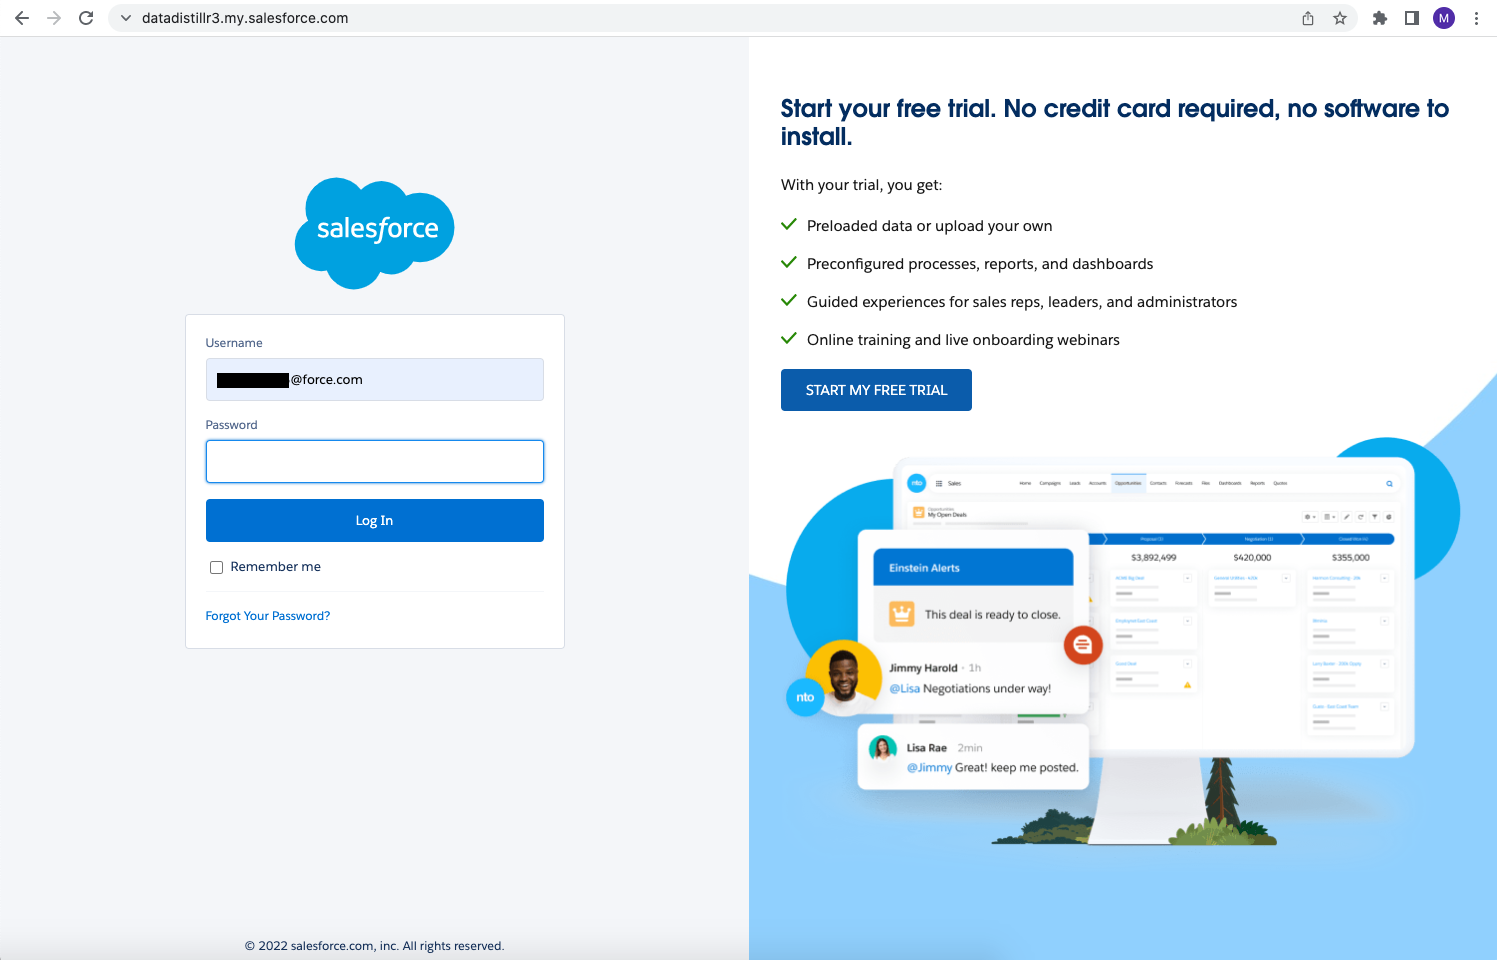
When you set up your Salesforce account, you should have received an email that looks like the one below. This gives you the URL to access your Salesforce account, as well as your Username.
Navigate to the URL found in the email, and type in your Username and Password.
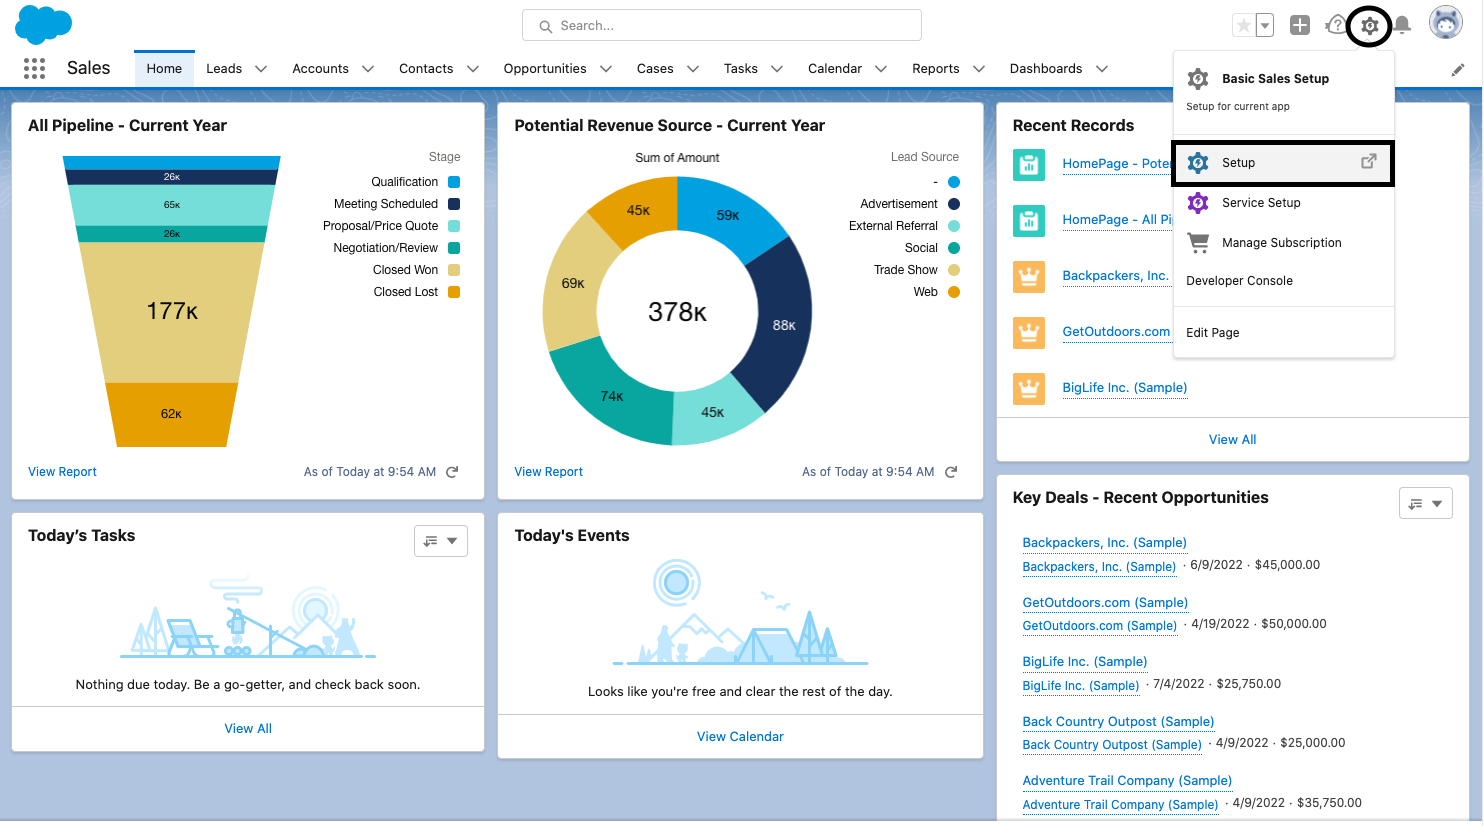
In the top right corner, click on the gear icon. From the dropdown menu, select Setup.
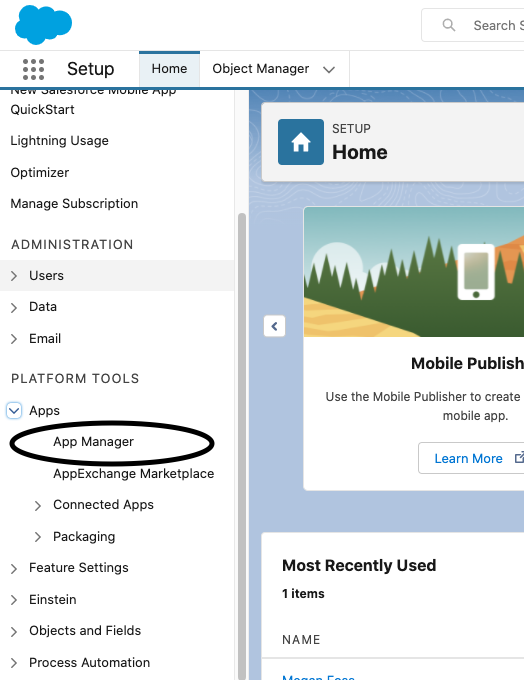
In the left-hand navigation panel, scroll down to the PLATFORM TOOLS section. Under Apps, select App Manager.
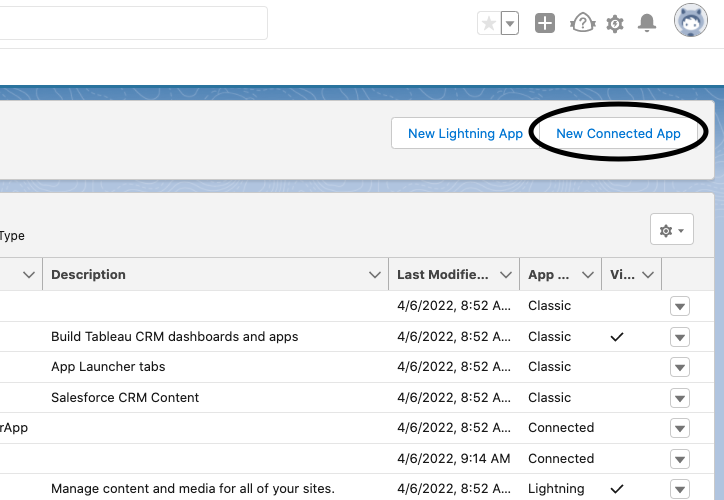
In the top right corner of the App Manager screen, select New Connected App.
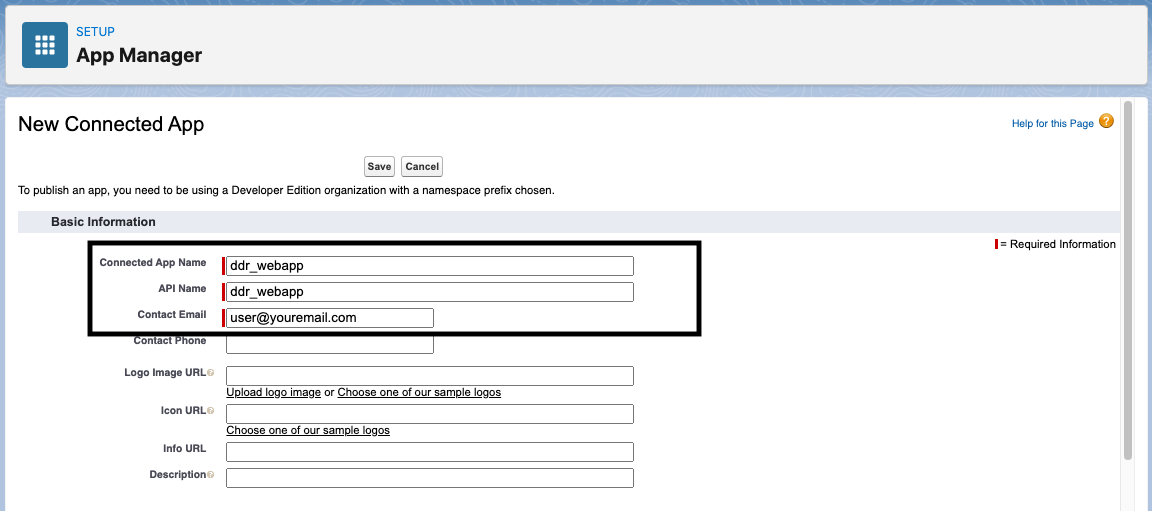
In the Form that appears, fill out the following sections under Basic Information: Connected App Name, API Name, and Contact Email.
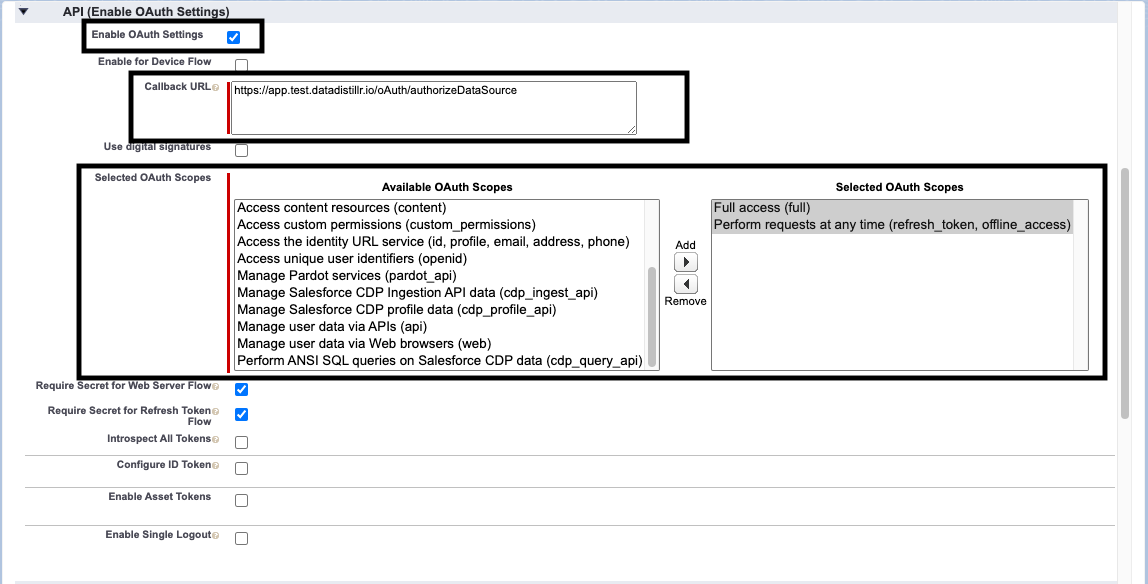
Scroll down to the section titled "API (Enable OAuth Settings)".
- Check the box next to Enable OAuth Settings
- For Callback URL, copy and paste the Callback URL found in the DataDistillr API Form
- For Selected OAuth Scopes, select "Full Access (full)" and "Perform requests at any time (refresh_token, offline_access)" and Add them to the list of Selected OAuth Scopes
Scroll down to the bottom of the form and press Save, then wait approximately 10 minutes for the changes to take effect.

Name#
Enter any name that will help you recognize this data source from within your query window.
Acceptable Characters Include
- lowercase alphanumeric characters
- underscores
Consumer Key, Consumer Secret#
Follow steps 1-4 in Salesforce set-up to Navigate to the App Manager, then follow the directions below to find your Consumer Key.
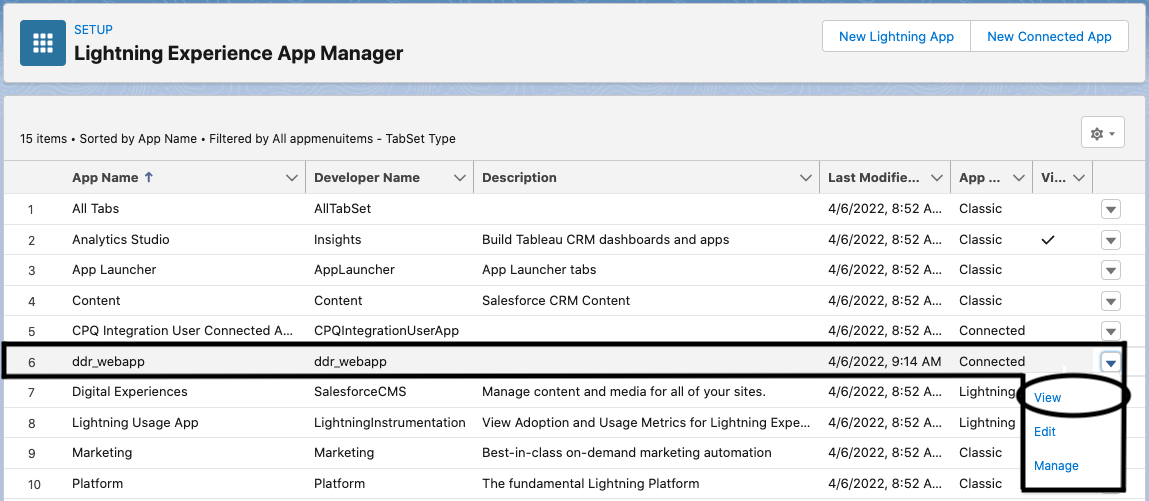
Once you are in the App Manager, find the Connected App you created. Ours is named ddr_webapp. Click on the
downward facing arrow at the Right to expand a selection panel. Select View.
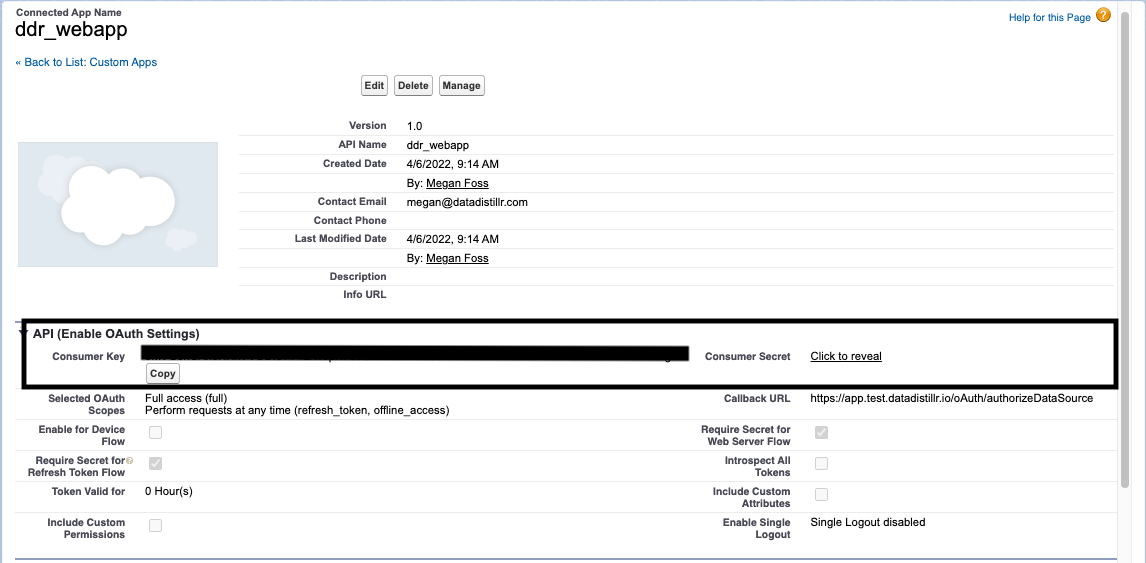
You can find the consumer key and consumer secret in the section labeled "API (Enable OAuth Settings)". Copy and paste these values into the Salesforce Data Source Form.
Subdomain#
The subdomain can be found in the original email, referenced above, or in the URL. The subdomain is the part found at
the beginning of the URL between https:// and .my.salesforce.com. In the example below, the subdomain is datadistillr3
.

Endpoints#
Please see the Salesforce API Reference that corresponds to your Salesforce product of interest for more on Salesforce's endpoints.
The table below shows a list of endpoints available to connect to within the DataDistillr application. If you need to connect to any endpoints not listed in the table below, please use the Custom APIs Form.
| Endpoint | Required | Optional | Description |
|---|---|---|---|
/chatter/users |
Returns information about all users in an organization. | ||
/chatter/users/:user_id |
user_id | Returns information about a specific user. |
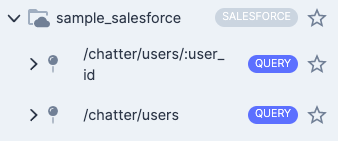
Nav Tree#
The endpoints above will display as follows in the nav tree once your API has successfully connected.
Sample Queries#
The following queries are intended to help you get started, and make life simpler querying within your API.
For the following examples, suppose that my Salesforce API data source was called salesforceapi, and I want to query
an endpoint. The endpoint goes after the Salesforce data source name:
Get Users Endpoint#
This query returns chatter user info for a specific user ID.